“Fun and Functional Flax Weaving” book
7 December 2020Click here to visit an upgraded version of this blog post on my new website at alibrown.nz.
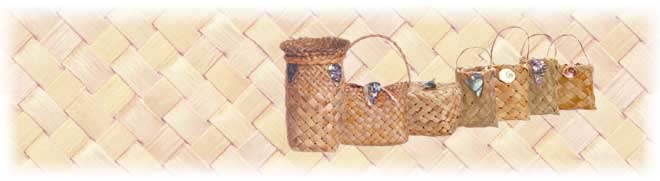
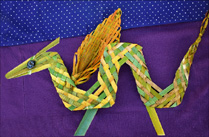
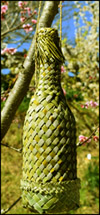
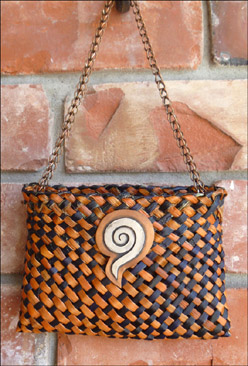
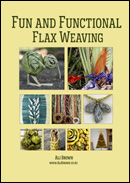 The book I’ve been writing, Fun and Functional Flax Weaving, is now available for sale through the Shop page of my website. From delicate cords for jewellery to rugged hefty thick ropes used in outdoor art, from useful bottle carriers and decorative flask holders to toys for children and pets, window blinds and table runners, mobiles and fiery dragons, this book shows how basic weaving, knotting and plaiting techniques can be used for the creation of any number of useful items that have wide appeal.
 Weavers of all levels should find something to spark their interest. Even though many projects can be achieved by those with little or no weaving experience, there are also projects which require previous weaving knowledge — for those who want to extend their weaving repertoire or who like a challenge.
 Different techniques are used in each project and so it’s also suitable for a course book — as well as for individual weavers and groups. Buyers of my previous books have commented positively on their easy-to-follow, step-by-step illustrations beside the written instructions. You can see these comments under the Ali’s books section of my Blog. More illustrations from the book are shown on the web page Book on fun and functional flax weaving. The samples in the book are woven with New Zealand flax but any natural or manufactured material that can be made into long thin strips can be used for most projects, including palm leaves, strapping, bark and paper.
 If you buy the book, do post a comment below if you can see how it might be improved, or post a question if any of the instructions are not entirely clear. Also if you have any photos of your weaving based on projects from this book, I’d love to see them.
 The book can be purchased directly from me, along with my other books, Weaving Flowers from New Zealand Flax, Weaving Baskets, Backpacks, Boxes and Other Projects and Weaving a Large Container from New Zealand Flax. I do hope that people find this book useful and even inspiring. Happy weaving!
© Alison Marion Brown 2020.
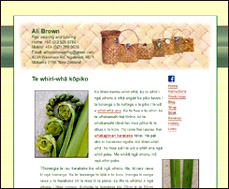
 Traditionally flax weaving is woven on the diagonal rather than vertically and horizontally, as in many other weaving traditional weaving styles and I’ve noticed that new flax weavers often struggle when they’re trying to get tidy, even diagonal weaving. One of the trickier things for a new weaver is how to work out if the weaving is all at the same level — or how to find the ara or path of the weaving. As weaving is completed row by row, as in knitting for example, working this out is a basic skill that’s essential to move on in weaving. It’s also essential if the weaver wants to achieve a straight edge at the top of the weaving, as illustrated in the kete here. Steps on how to achieve even, diagonal weaving are illustrated here using red and white arrows — the red arrows show the current movement and the white arrows show previous movements — as well as steps to take if a particular strip is too low or too high.


 Following on from the first page translated into te reo Māori on my website,
 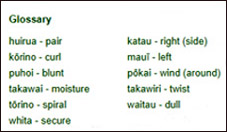 Wi also suggested adding a glossary to the translated pages, which is a great idea and I’ve added the glossary he provided at the bottom of the page. I find it very helpful and even if I’m not at the stage with my own te reo Māori to be able to fully read the translated page, I enjoy learning more weaving words in te reo Māori. For those of you who are also learning te reo Māori, I do hope you find these on-line flax weaving instructions in te reo Māori a useful resource and I’d appreciate any suggestions or feedback.